 If it were 1997, I would probably be writing a tutorial for how to tweeze away more of your brows than you should! Thankfully, we survived the ’90s with most of our brows still intact. Instead of reducing our eyebrows to thin lines, we now celebrate and accentuate them. Eyebrows add extra dimension to your face when treated properly and should be included in your regular makeup routine. You will see that creating perfect brows are easy. If you have only five minutes in the morning to do your makeup, brows, mascara, and lipstick are the essentials that will get you through the day.
My Natural Brows

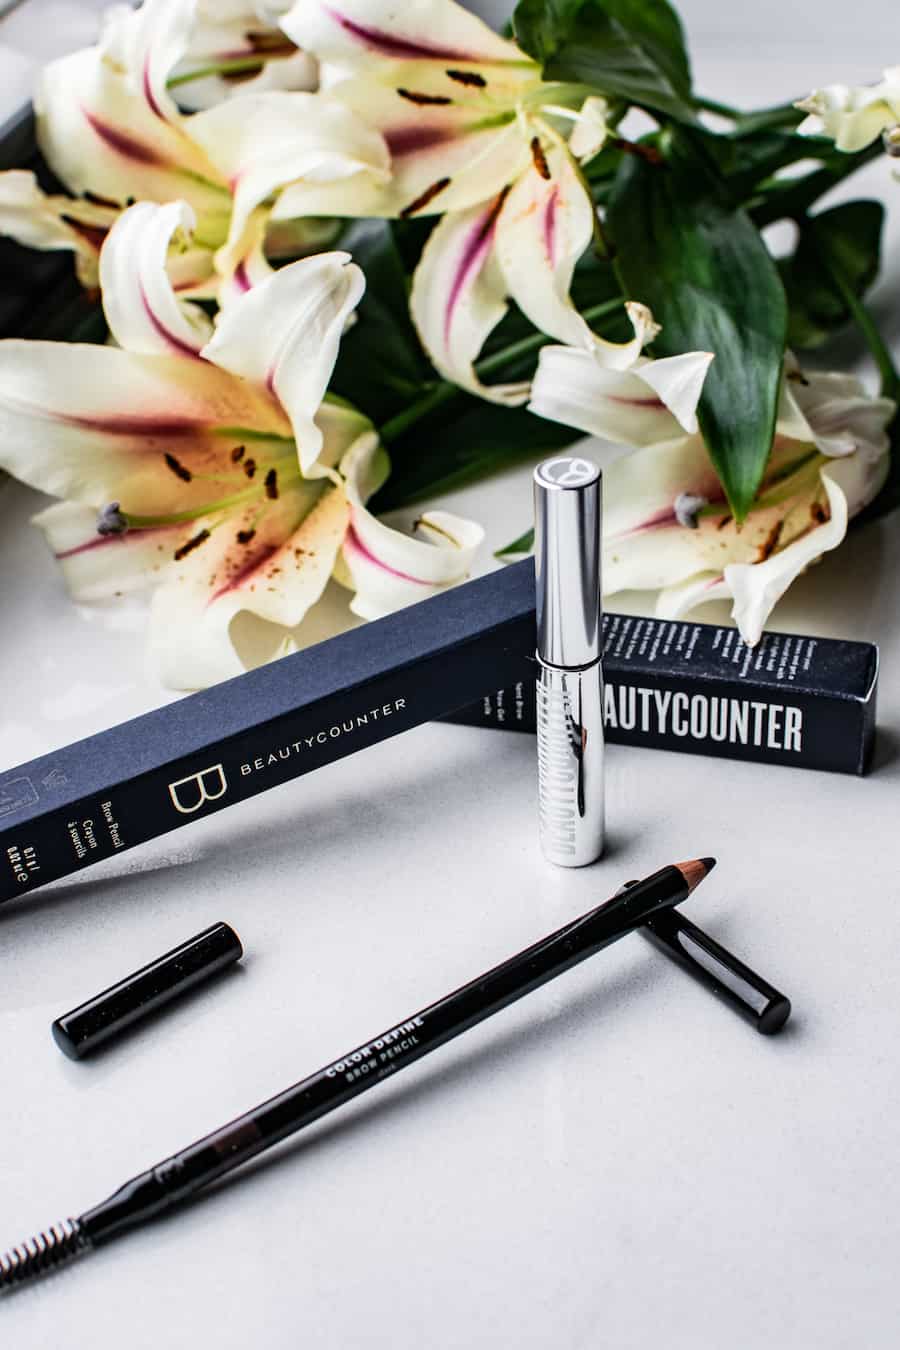
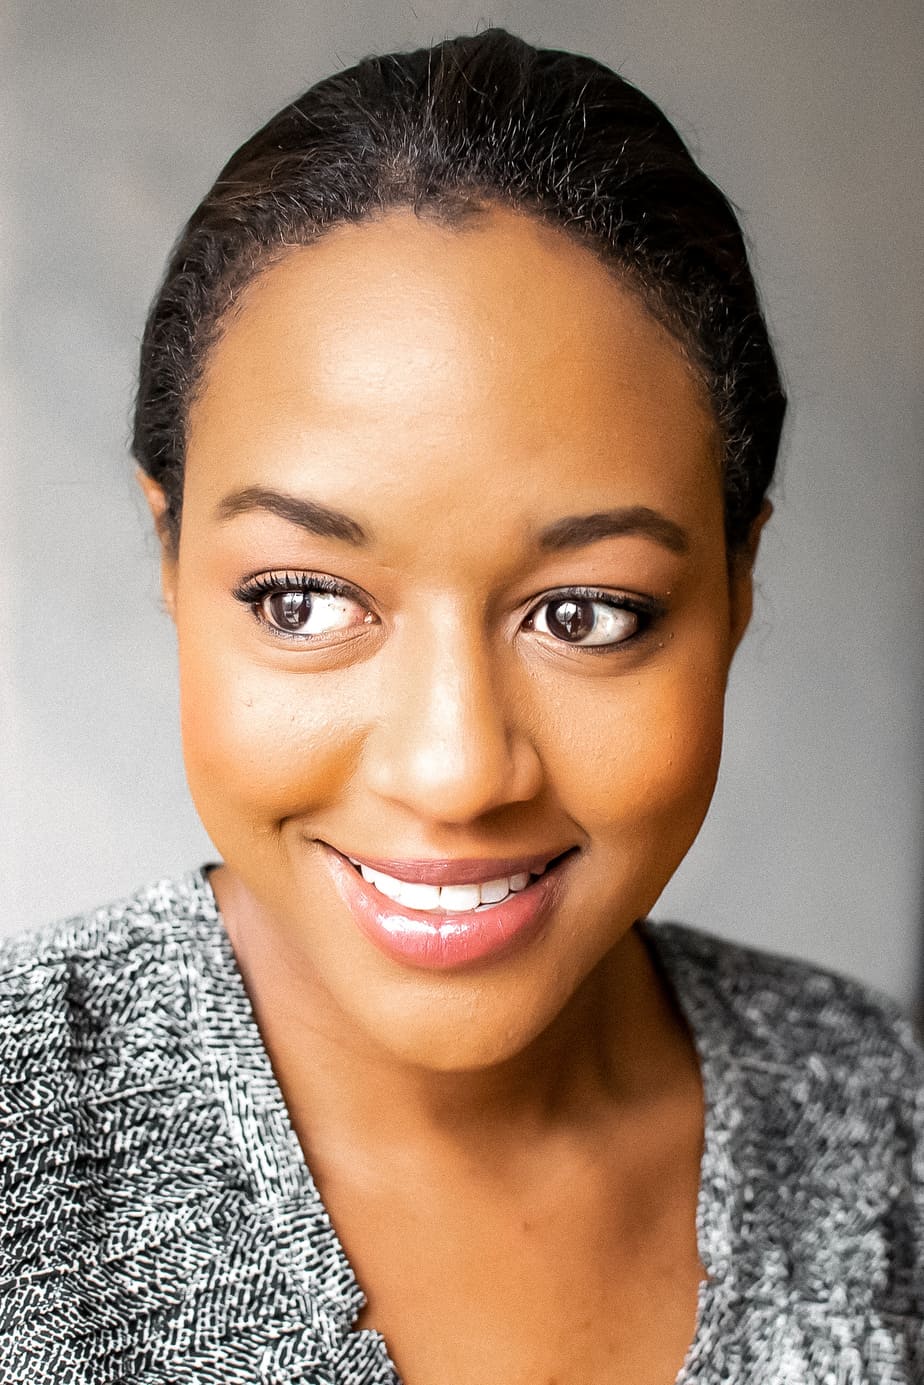
As you can see, my brows are far from perfect. One has this interesting curve to it, and the other is very thick toward the edge and then oddly thins out. I make it a point to fill them out when I apply my makeup. Beautycounter has two great products that I use to enhance my eyebrows’ natural shape and make them pop.
Brow Gel vs. Pencil
Deciding whether to use brow gel or pencil is a personal preference, but I actually use both. If your brows have a naturally great shape but you are eager to fill them out and thicken them, brow gel is the perfect product for you. I also find that brow gel is great for taming thick, wild brows, especially if you use it in a clear shade.
However, if your brows aren’t as even as you’d prefer or you need to fill in sparse areas, then you want to grab a pencil. As I mentioned, I use the pencil and the gel to both make my brows appear thicker and even out their shape so that they look more symmetrical.
How to Create Your Perfect Brow
No matter which product you choose, the first step is to brush your brows and help the hairs fall into place before you start using your product. The Beautycounter Color Define Brow Pencil has a built-in brush on the end to make this step a little easier.
Next, I grab my Brilliant Brow Gel to start thickening my brows. The goal is to make your brows appear natural, so remove any excess product on the applicator and apply sparingly. My brows may not be full, but they are long, so I brush at a 45° angle and start where I want to deposit the most product first. For me, this is slightly to the right or left of where my brow starts; then I sweep along the entire length. Once I apply the gel and have filled in my brows, I use the brush a second time to smooth them out again.
Finally, I finish with the brow pencil. I start at the edge and draw small lines to fill in the short hairs that grow straight up right where my brow starts. Then I define the shape by drawing along the bottom and filling in any spots that look bare. Finally, I use the pencil to extend my brow out just a bit and elongate the eye area.

Brow Styling Tips
When styling your brows, try to remember these great tips:
- Brush your brows first to even them out.
- Apply the product sparingly. You want your brows to look natural, not like they were completely drawn in.
- Start applying your gel where you want to deposit the most product, then work through the rest of the brow.
- Don’t be afraid to use both gel and pencil.
- If your brows are thin, thicken them by applying gel “against the grain” and then brushing back into place for a fuller look.


Whichever product you use, don’t neglect your brows. They are an important part of your face and yet often overlooked in beauty routines. Give your brows the attention they need to help you express yourself with style!
Stay fabulous,


One comment
Thanks for sharing this wonderful idea.These are absolutely incredible, .Very helpful! Cheers! X