This post has been sponsored by Schwarzkopf® Keratin Color. All thoughts and opinions are my own.

If you get your hair colored on a regular basis, then like many of us, right now, I am sure you are looking for Professional Quality Color at Home. Who wants to live with dull color and overgrown roots? It’s time to take action into our own hands. I went to Dollar General, grabbed someSchwarzkopf® Keratin Color, and got a fresh look while kissing those roots goodbye. Here are my tips to color your hair at home like a pro.
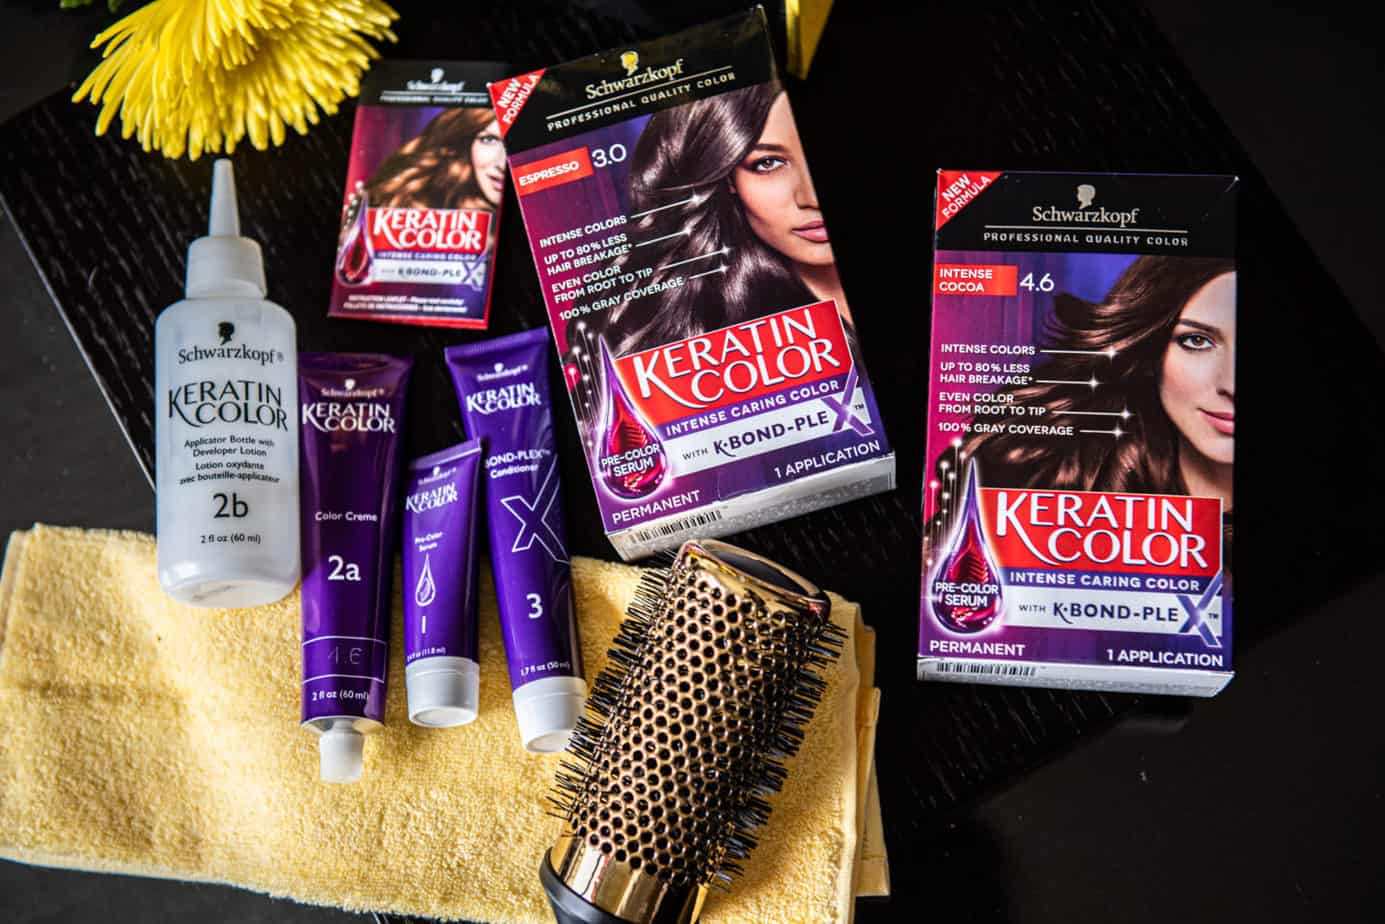
Picking the Right Color
The first step is to pick the right color. I’ll be honest: you can only do so much at home when it comes to lightening your color, so don’t expect to flawlessly transition from brunette to blonde. However, coloring your hair at home is a great way to lighten one or two shades, and it’s ideal for darkening. I love Keratin Color because the 100% gray coverage is ideal for touching up your roots. One thing to keep in mind when coloring your hair is that the initial shade you see after you color will lighten as the sun hits it.
Typically, one would choose a single color, but I decided to make my color more nuanced and opted for two different colors: a darker one for my roots, and a slightly lighter shade for the rest of my hair. The process ensures gray hair is covered at the roots, and as the hair grows out, it will be less noticeable. An application like this also gives hair more of a professional look.
From 10/18 – 10/24, you can buy 1 Schwarzkopf® Keratin Color or g2b Color product from Dollar General, and save $3!
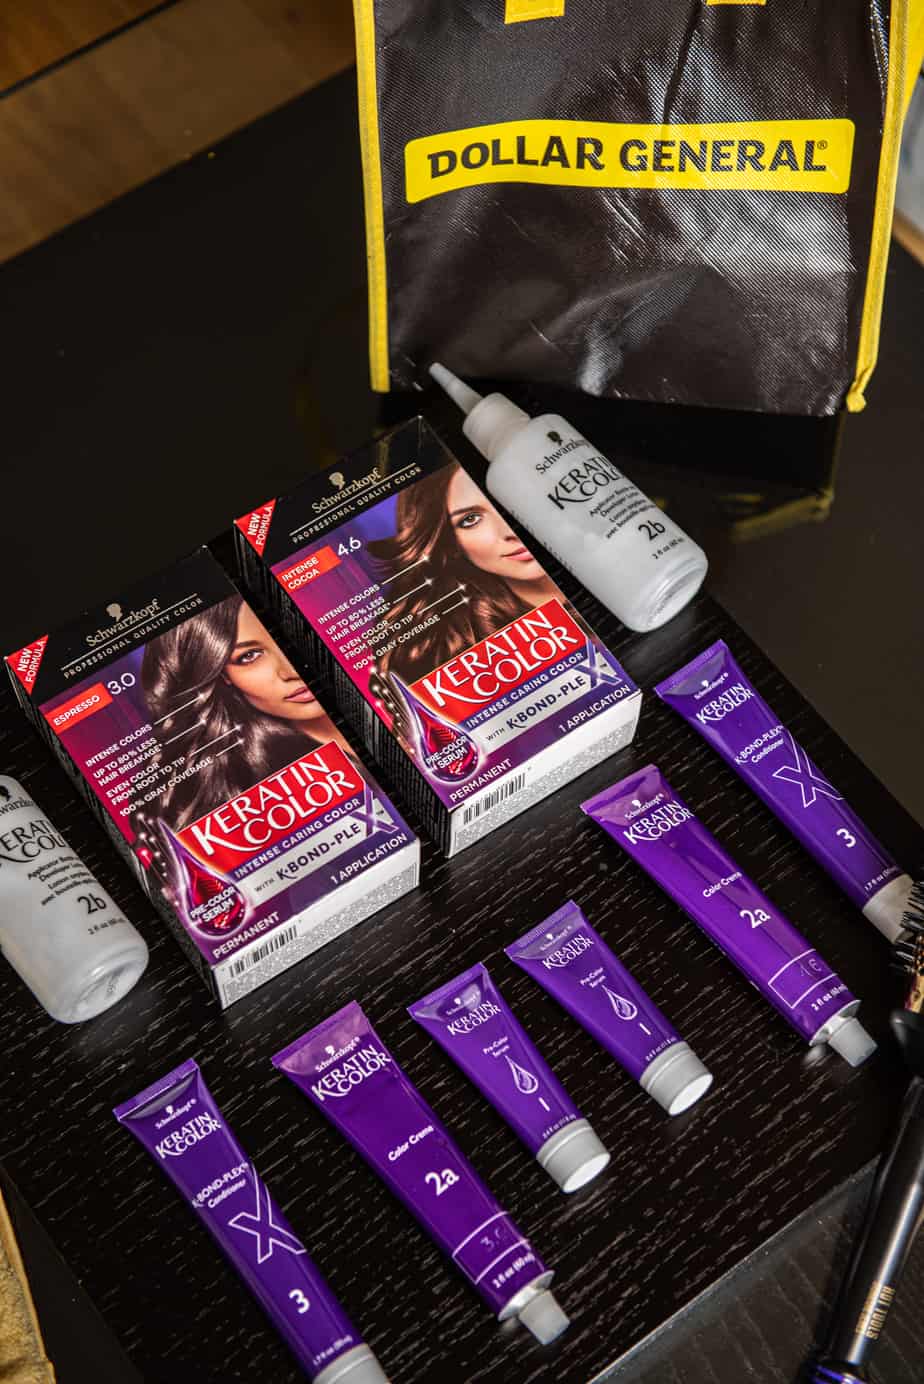
Applying the Color
The key to great color is in the application. If you want the salon look at home, take extra care when applying color. Because I decided on a two-color process, I had a little more work to do. Schwarzkopf® Keratin Color has 100% gray coverage, but for best results, be sure to saturate any areas containing stubborn grays.
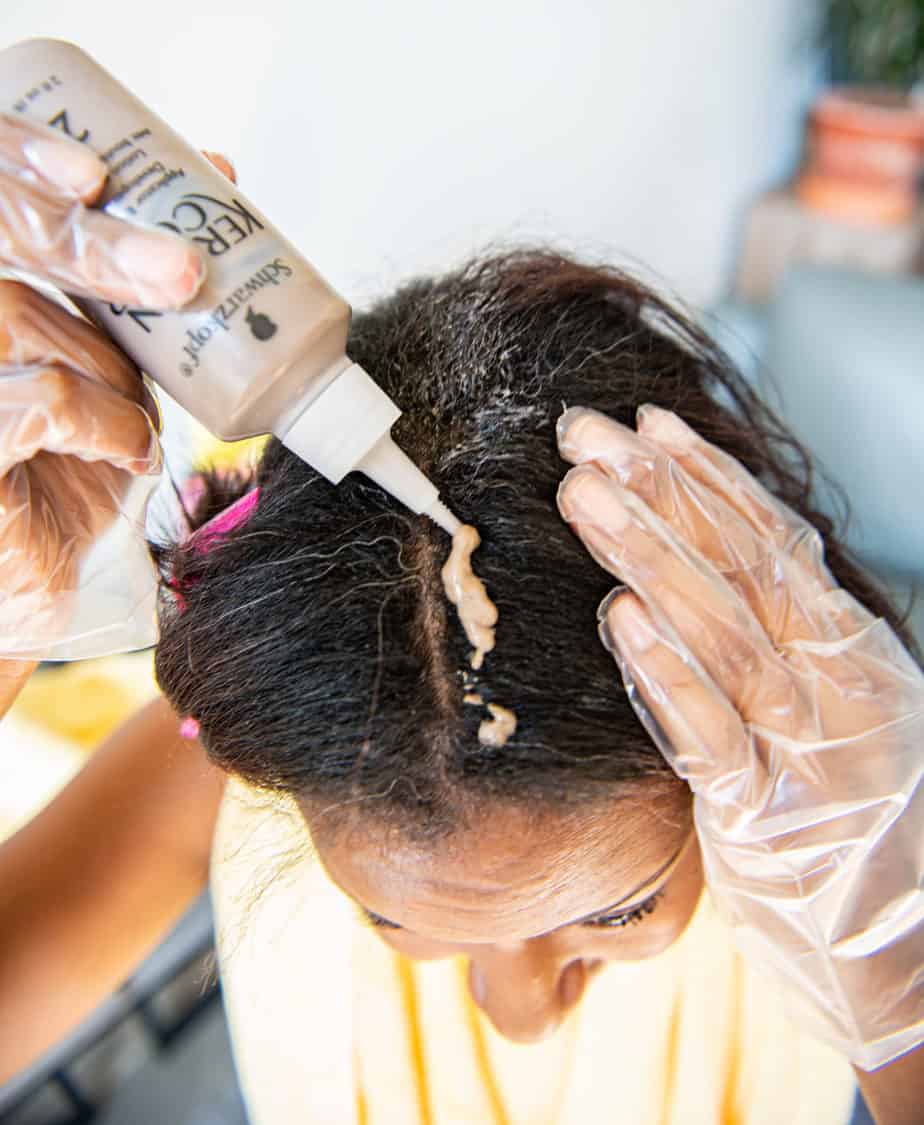
Step 1: Prep your hair. Schwarzkopf® Keratin Color comes with a pre-color serum to apply to your ends before coloring, to protect and condition, so apply that first. If you have Petroleum-Based Products, apply it around the edge of your scalp to protect it from being stained by the color.
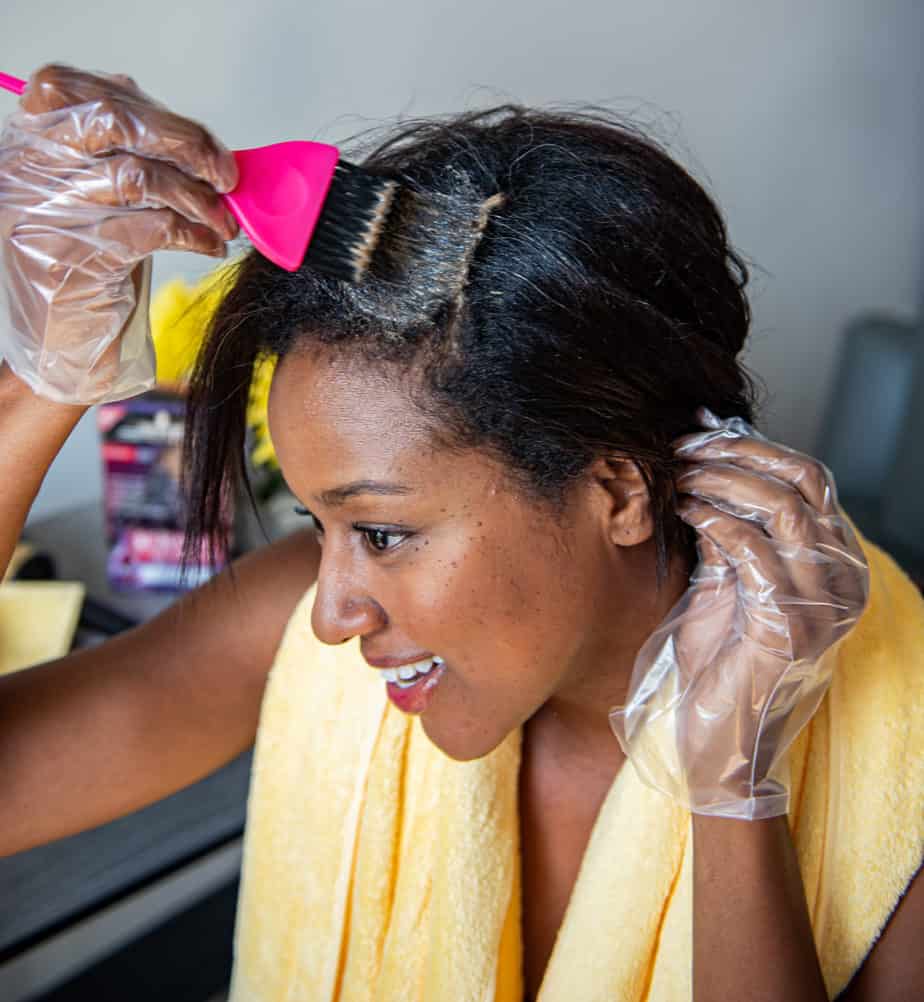
Step 2: Part your hair into sections. Apply your color one section at a time. This will make the process a lot neater and easier, plus it will ensure that the color evenly saturates your hair.
Step 3: Mix the color. Put on the gloves provided and mix according to the package instructions.
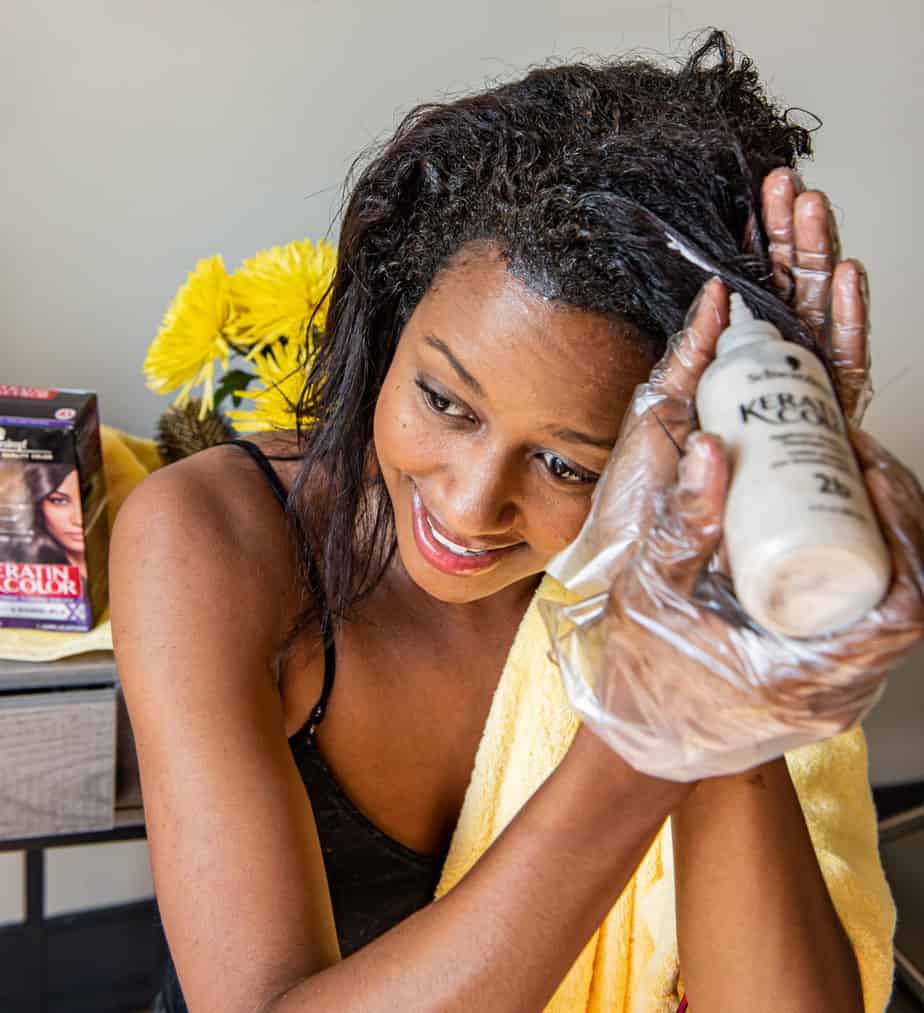
Step 4: Apply. Start with one section and apply color along the center part. If you have an application brush, use it to spread the color evenly into the roots, making sure to saturate the hair fully. Part each section of your hair and apply color carefully until your entire head has color on it. Feel free to use the entire bottle because it is not good to save the color for later use.
If you using two colors, apply only the first color 1 to 2 inches down the hair shaft. Continue with this process on your whole head and then start with the second color on the ends. Note: Do not rub the color in, just brush or spread it along the hair.
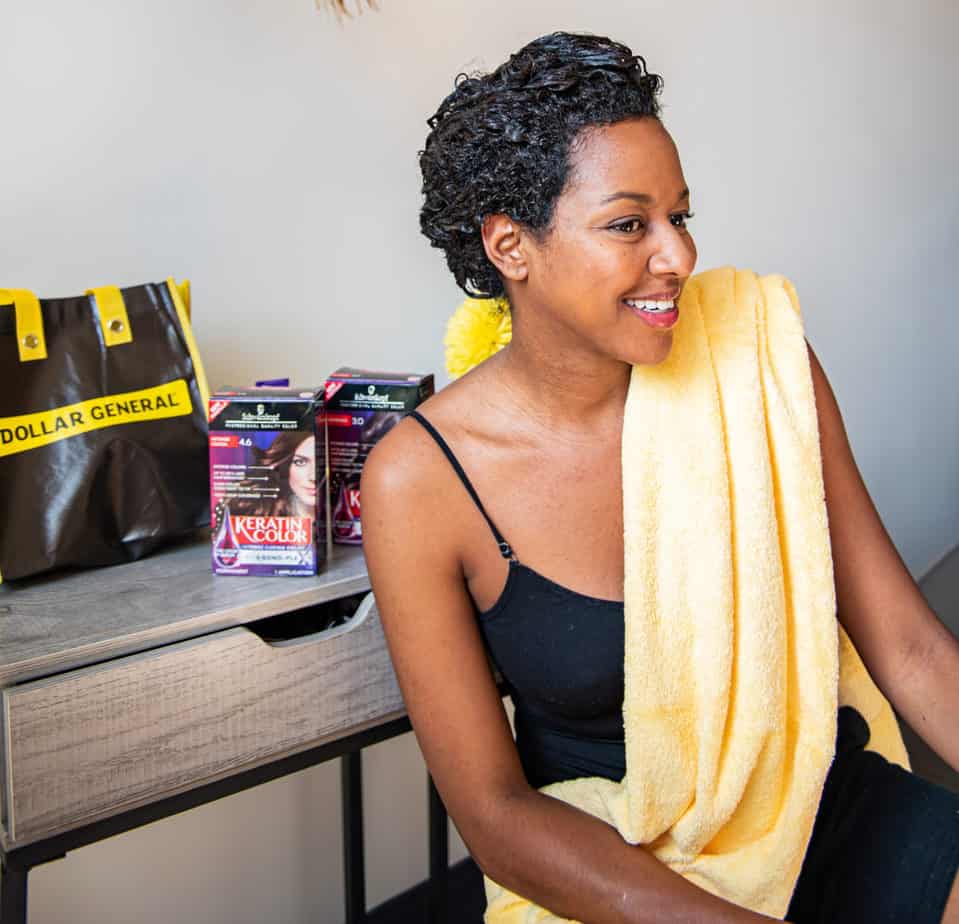
Step 5: Let process and rinse out. According to instructions, your colored hair should “set” for 30 minutes. Rinse out the color until the water runs clear. If you feel the need, you can lightly shampoo your scalp, and then use the conditioner provided in the box.
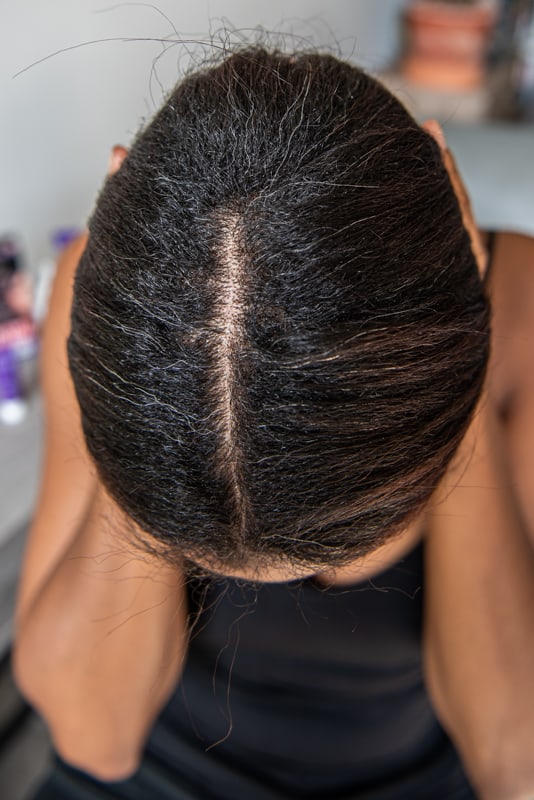
BEFORE 
AFTER
Maintaining Your Color
Now that you have gorgeous new hair, the last thing you want to do is let it fade earlier than it should. Every time I color my hair with Keratin Color, I receive compliments on how shiny and healthy it looks.

Luckily for you, Dollar General has tons of great products to keep your color looking its best. Switch to a shampoo and conditioner for color-treated hair to help keep your color bright and vibrant. These products are designed to help block UV rays and protect hair from hard water.
Also, think about shampooing your hair less in general. Deep condition every other week and opt for dry shampoo when possible instead of your typical shampoo ritual. Lastly, avoid heat as much as possible. Styling irons and hot blow dryers open your hair cuticles, which lets the color lift out. Additionally, hot water will essentially do the same thing, so wash your hair with warm or cool water instead.

It may be a while before you are able to see your stylist again, but don’t neglect your color in the meantime. Color your hair at home with confidence and you will be pleasantly surprised with the results!
Stay fabulous,




4 comments
I never thought to use a darker shade on my roots. I normally use 4.6 Intense Cocoa all over. It’s time for me to dye my hair this weekend so I’m going to try this! Did you use Intense Cocoa on your ends and Espresso on your roots?
Hi Krystal –
Yes, a hairstylist friend of mine gave me that trick! It works really because as your hair grows out the roots don’t look at obvious. So yes, Espresso roots and Cocoa on the rest.
Send me A DM and let me know how it turns out.
Really beautiful article and a great resource thanks for share it